Can I Run a Garage Mini Split on an Existing Outlet Circuit?
Sometimes—but don’t assume an ordinary garage outlet can power a mini split. The answer depends on the unit’s voltage and electrical specifications, the circuit’s breaker and wire size, what else is connected to it, and local code. A small 115V model may be designed for a standard receptacle, while many larger garage systems require a 230V dedicated circuit installed to the manufacturer’s instructions.
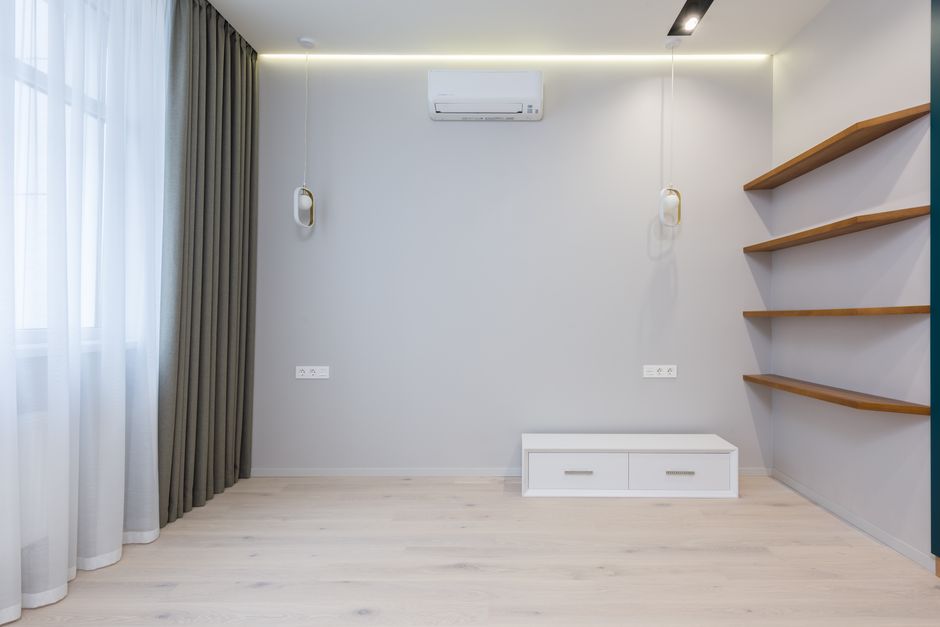
Before buying equipment, check the installation manual and have an electrician verify the circuit. A plug that fits is not proof that the wiring is suitable. This guide covers garage mini split wiring, when a dedicated circuit is required, how to size capacity for a garage, and how efficiency affects operating cost.
Short Answer: Check the Nameplate and Manual First
Find the model’s electrical data in its installation manual or on the equipment nameplate. Pay attention to the rated voltage, minimum circuit ampacity (MCA), maximum overcurrent protection (MOCP), and any instructions about a dedicated branch circuit or receptacle. The breaker and momhomeguide.com conductors must meet the manufacturer’s requirements and applicable local electrical code.
An existing circuit might be usable only if the mini split is specifically designed for that supply and the circuit has adequate capacity. If the manual calls for a dedicated circuit, don’t connect the unit to a general-purpose outlet circuit—even if that outlet is nearby and the breaker seems large enough.
- 115V plug-in model: May use a receptacle, but only if the manufacturer permits it and the circuit is properly sized and otherwise suitable.
- 230V model: Typically needs a correctly configured 230V supply. A standard 115V garage outlet cannot run it.
- Dedicated circuit required: Follow that instruction. Don’t share the branch circuit with lights, receptacles, a freezer, power tools, or other equipment.
Why Garages Need a Different Sizing Check
Garage sizing is not the same as choosing a mini split for a finished interior room. Garages often have less insulation, leaky overhead doors, uninsulated concrete slabs, frequent door openings, and more air leakage than living spaces. Tall ceilings and direct sun on the roof or door can add to the load. A unit sized from a basic interior-room BTU chart may struggle to maintain temperature—or may be unnecessarily oversized.
As a rough starting point, a garage may need 30% to 50% more capacity than an interior room of similar floor area. That is not a universal formula or a substitute for a load calculation. Insulation, climate, ceiling height, air sealing, and how warm or cool you want the space all matter. A detached, drafty garage used as a workshop can have a very different load from an insulated garage attached to a home.
Garage factors to check before choosing BTUs
- Insulation: Note whether the walls, ceiling, garage door, and any shared wall with the house are insulated.
- Ceiling height: A high ceiling means more air volume and can affect comfort and capacity needs.
- Door leakage and use: A frequently opened overhead door lets outdoor air in quickly.
- Climate and setpoint: Size for your local winter and summer conditions, not just the mildest days.
- Use of the space: Vehicles, workshop equipment, people, and heat-producing tools can change the load.
Ask an HVAC professional to perform a room-by-room or garage-specific load calculation when the space is large, poorly insulated, or expected to stay comfortable in severe weather. Also confirm the mini split’s low-temperature heating performance if you plan to use it through cold winters; a headline BTU rating may not tell you how much heat the unit provides in your local design conditions.
115V Plug-In or 230V Dedicated Circuit?
Some compact mini splits are sold as 115V plug-in systems. They can be convenient where the manufacturer provides a cord and explicitly approves connection to a suitable receptacle. But “plug-in” does not mean “plug into any garage outlet.” The circuit still needs to meet the unit’s requirements, and a heavily loaded or shared circuit can trip, overheat, or create reliability problems.
Many higher-capacity systems use 230V and are wired to a dedicated circuit. That installation usually involves a properly sized breaker, conductors, disconnecting means, grounding, and outdoor wiring methods required by the manual and local code. It is not a DIY extension-cord project, and an outlet adapter does not convert a 115V circuit into a safe 230V supply.
Question 115V plug-in unit 230V hardwired unit Can it use an existing outlet? Possibly, only when the manual allows it and the circuit checks out. Not a standard 115V outlet; it needs the specified 230V supply. Is a dedicated circuit required? Follow the model’s manual and local code; don’t assume a shared circuit is acceptable. Commonly required. Confirm the exact instructions and electrical ratings. What should you verify? Voltage, breaker, wire, receptacle condition, circuit load, and manufacturer approval. Voltage, MCA, MOCP, conductor size, breaker, disconnect, grounding, and code compliance.Why You Should Avoid Shared Circuits
Mini splits have changing electrical demand as their inverter compressor ramps up and down. Other loads on the same circuit—such as a refrigerator, freezer, shop vacuum, compressor, or power tools—can push the circuit beyond its intended capacity. A breaker that trips repeatedly is not a minor inconvenience; it is a sign to stop and investigate rather than install a larger breaker.
Avoid shared circuits unless the equipment instructions and a qualified electrician confirm the arrangement is permitted and properly designed. Never replace a breaker with a higher-rated one just to stop nuisance trips: the wire may not be rated for the larger breaker. Don’t use extension cords or improvised adapters as a substitute for correct wiring.
Electrical details worth confirming
- The unit’s rated voltage and electrical input requirements.
- The manual’s MCA and MOCP values and any dedicated-circuit instructions.
- The existing breaker rating and the size and condition of the conductors.
- What other outlets, lights, and equipment are served by that circuit.
- Required disconnect, grounding, outdoor protection, and local permit or inspection rules.
Electrical work around a panel or new 230V branch circuit is a good point to bring in a licensed electrician. If you’re unsure how to identify the circuit or interpret the nameplate, don’t guess. An estimate from an electrician—or through a service platform such as Angi—can help you compare the cost of a proper circuit against the risk of an improvised connection.
Zone Air vs. MRCOOL for a DIY Garage Project
Zone Air and MRCOOL are names homeowners may encounter while comparing mini split options, but the brand name alone doesn’t settle whether a model is right for your garage. Compare specific model numbers, not just general claims about DIY installation or included accessories. Electrical requirements can differ between products within a brand.
What to compare Why it matters Electrical specifications Voltage, MCA, MOCP, and circuit instructions determine whether existing wiring could be suitable. DIY installation requirements Check what work the manufacturer permits, what tools are needed, and whether professional commissioning is required. Line-set length and routing Confirm the included line set fits the layout. Avoid a setup that forces unnecessary coiling behind the condenser; follow the manual for excess length and routing. Heating performance Review capacity at low outdoor temperatures, not just nominal heating BTUs. Warranty and service Read the warranty terms, registration requirements, and support options before ordering.MRCOOL offers DIY-oriented products, but that doesn’t mean every electrical or refrigeration task is covered by a simple plug-in installation. Likewise, when comparing a Zone Air model, verify the specific installation manual and what is included in the kit. For both, confirm local code requirements and whether DIY work affects warranty coverage. Product reviews can be useful for spotting recurring fit or support issues, but they don’t replace the manufacturer’s specifications.
SEER2, HSPF2, and What They Mean for Operating Cost
SEER2 describes seasonal cooling efficiency, while HSPF2 describes seasonal heating efficiency. Higher ratings generally indicate more efficient performance under standardized test conditions. They can help you compare models, but they are not a promise of a particular utility bill. Real operating cost depends on local electricity rates, outdoor temperatures, your thermostat setting, insulation, air leakage, and how many hours the garage is conditioned.
For an apples-to-apples comparison, check the exact model’s current SEER2 and HSPF2 ratings and its output at the temperatures you expect to see. In a cold-winter climate, heating capacity and efficiency at low outdoor temperatures can matter more than a high seasonal number by itself. Better garage-door weatherstripping and insulation may reduce runtime and improve comfort—often a more dependable way to cut operating costs than oversizing the equipment.
Outdoor Placement: Pad or Wall Brackets?
The outdoor condenser needs a stable, level location with the clearances required by its manual. A condenser pad is a common ground-level option, while wall brackets can lift the unit above snow, standing water, or debris. Choose based on the site, snow conditions, drainage, vibration, and the manufacturer’s installation instructions.
Neither option fixes poor electrical planning. Keep the line set and wiring routed according to the manual, protect them from damage, and avoid bending, squeezing, or hiding extra line set in a tight coil behind the condenser. If the supplied line length is more than the installation needs, follow the manufacturer’s directions rather than improvising a storage loop.
A Practical Decision Checklist
- Choose a specific model. Don’t base the wiring decision on a general BTU range or brand description.
- Read the electrical section. Record voltage, MCA, MOCP, circuit instructions, and any receptacle requirements.
- Inspect the proposed circuit. Identify the breaker and what else it powers; don’t assume an unused outlet means an unused circuit.
- Check capacity for the garage. Account for insulation, ceiling height, door leakage, climate, and low-temperature heating performance.
- Get electrical help if needed. Have an electrician verify the circuit or install a dedicated one when the manual calls for it.
- Plan the complete installation. Confirm line-set routing, condenser clearances, pad or bracket placement, permits, and warranty conditions.
Bottom Line
You may be able to run a mini split from an existing circuit only when the exact unit is designed for that supply and the circuit meets every manufacturer and code requirement. A 115V plug-in model may be an option, but it still needs a suitable circuit. For many larger 230V garage systems, expect to install a properly sized dedicated circuit.
Don’t connect a mini split to a random garage outlet, don’t share a circuit without verifying that it is allowed, and don’t upsize a breaker to mask a problem. First size the equipment for the garage—not an interior room—then confirm the electrical plan with the manual and a qualified electrician. That approach is less convenient than plugging in wherever there’s an outlet, but it’s the safer way to get dependable heating and cooling.